Global high-mix volume high-speed PCBA manufacturer
9:00 -18:00, Mon. - Fri. (GMT+8)
9:00 -12:00, Sat. (GMT+8)
(Except Chinese public holidays)
Global high-mix volume high-speed PCBA manufacturer
9:00 -18:00, Mon. - Fri. (GMT+8)
9:00 -12:00, Sat. (GMT+8)
(Except Chinese public holidays)
HomePage > Blog > Knowledge Base > How to Solder SMD Components? | SMD Soldering
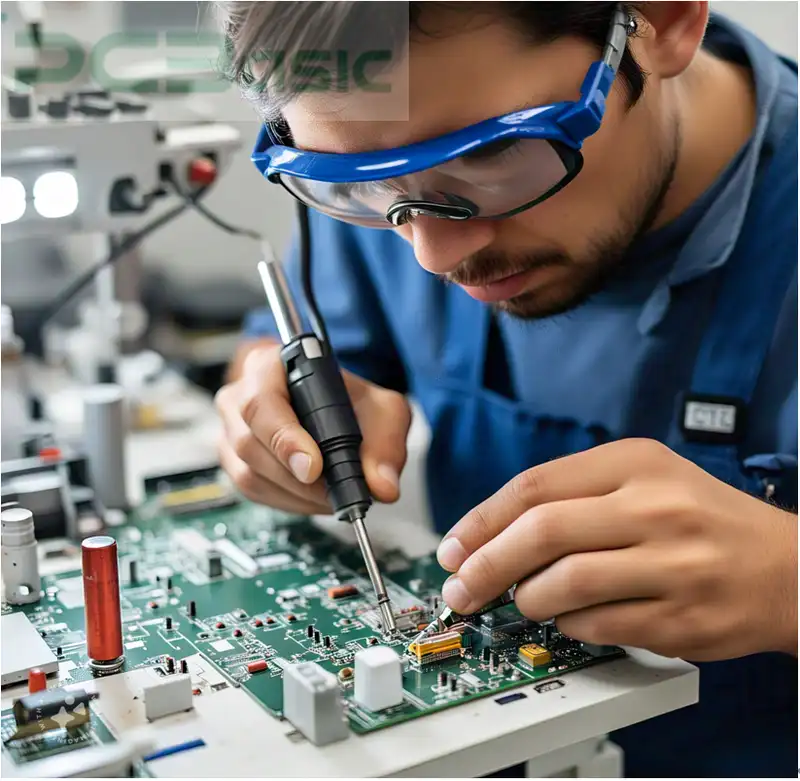
The first step in SMD soldering starts from applying flux on printed circuit board pads. Use tweezers to place components accurately on the corresponding pads. For manual soldering, a fine-tipped soldering iron is commonly used for precision work on SMD pads. However, you should be careful to avoid overheating.
In this article, you will read about surface mount soldering kits, SMD soldering steps, and some practical soldering rules.
Have you ever heard about surface mount devices? You might have operated an electric gadget in childhood and discovered a PCB with lot of installed components. Basically, SMDs are those tiny components.

But how PCB manufacturers install them with such extreme precision? No doubt, it requires high-level skills, Printed circuit board fabricators solder these components on the PCB substrate. The interesting thing is you are not required to drill holes.
Its compact size is suitable for high-density parts. They become a popular choice for manufacturers in modern electronic processes.
There are many methods and materials for soldering SMD on PCB. For instance, mobile phones, laptops, wearable devices or medical instruments. Beside this, SMD brings a rapid change in manufacturing speed. They decrease the parasitic capacitance or inductance.
An SMD soldering kit includes essential tools for precise and efficient SMD soldering. You are right. A surface mount soldering kit contains every necessary tool to use in soldering components. Here is a complete list of tools you can find in the kit:
2. Solder wire
3. Flux pen
4. Tweezers
5. Magnifying glass
Use an SMD soldering iron with a fine tip. You can adjust its temperature. This tool is useful for contacting tiny SMD pads. It doesn’t overheat other nearby components.
Improve the solder flow. Fight against oxidation during the procedure.
They help in placing the SMD pads accurately on PCB substrates.
The combination of solder powder and flux paste makes the joints strong.
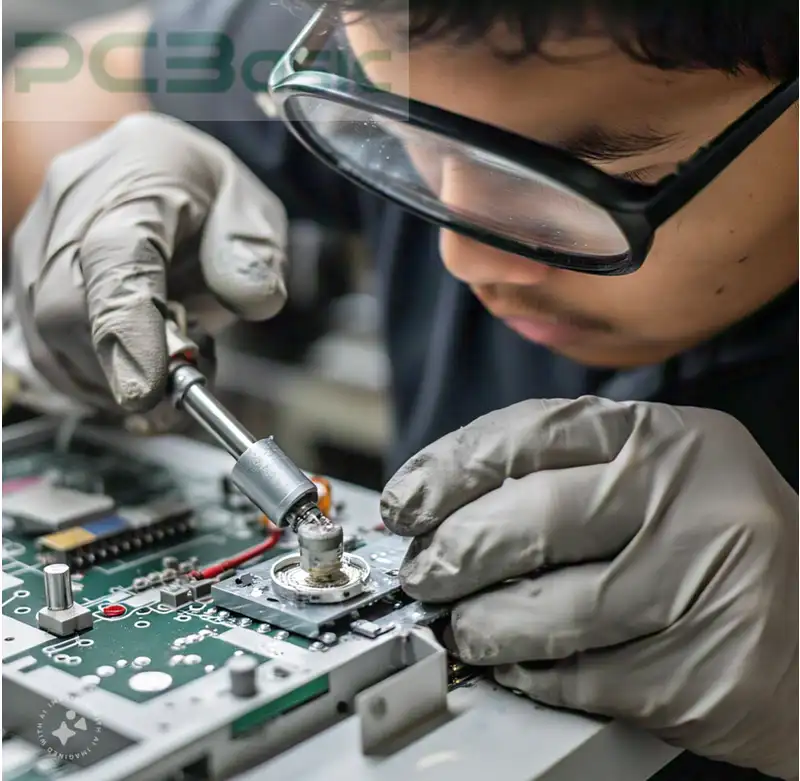
Magnifying tools help in visually inspecting the joints for fine-pitch components.
Keep in mind the size of SMD while choosing the soldering iron or paste. For instance, use ultra-fine solder paste for fine pitch pads.
This may scratch the SMD. It creates trouble in an alignment or component placement.
Do not forget to use fume extractors. This will create safe working.

Clean the surfaces of PCB and SMD. You can use an isopropyl or detergent mixture to remove the dust, oil, grime or contaminants.
Check if the assemblies are working or not. Place the pads in an aligned way, weighing their values and types. So that you can make error-free joints.
Take a little amount of soldering paste with the help of a stencil or syringe. Apply this paste to PCB pads. These are the areas where SMDs are placed. If you are not familiar with this technique, try to use pre-tinned pads.
These pads do not need a paste layer. Because of this, it makes the soldering operations easier. You can ensure good electrical or mechanical connections with these pads.
Place the component using tweezers on the relative solder pads. Adding a thin layer of flux paste is better for gaining stability. Proper layering will not displace the components during procedures.
Carefully arrange the SMD pins with PCB marking. Accurate component placements eliminate solder bridges or wrong orders during SMD soldering.
Hold the one-side pin manually. Use a soldering fine-tipped iron to secure this pin. Then use the solid solder wire or fine-tipped iron to contact the remaining pins. Use paste with great care. So that it does not create solder bridges. If somehow you apply excessive flux, then use isopropyl alcohol to clean it.
If the flux is not correctly fitted on the area or is uneven, reheat it. Then, remove the flux and apply a new layer. First, attach one side of the components that contain more than one pin. Then secure the rest. By doing this, you can establish the proper alignment.
As we saw the advent of digital microscopes or magnifiers earlier, they further help in locating defects, like cold joints or solder bridges. Make sure there is no defect between adjacent pins.

It is necessary to solder the SMD component cleanly and efficiently on boards. Consider these practices to achieve high-quality results.
Set the temperature of the soldering iron or reflow station accordin, temperatures will not solder the joints strongly.
Choose the solder alloys that correspond with the heat range of the tool. Lead-free solder or tin-lead are good options for beginners. As they create environmental compliance and easy handling.
Protect your components from electrostatic discharge. For this, use anti-static tools.
Start soldering the SMD from one side of the pins. This technique will allow you to attach parts sequentially. Try to apply sufficient heat to avoid the warping or cracking of the assemblies.
Check the wetness of the component’s lead and pad. Ensure their strong mechanical and electrical connectivity.
Errors and defects in the soldering process disrupt the performance. But you can troubleshoot them by following these tips:
● Removing Excess Solder
● Reapplying Flux
● Realigning Components
Using a special tool like a solder wick or desoldering pump, clear the solder bridges. Add fresh flux first. Then apply heat to the component to improve flow.
Reapply flux to fix dull joints or oxidized areas. Pass the heat to melt the excessive paste through the reheating process. This will resolve the conductivity and appearance issue.
Use a tweezer to grab the shifted components. Reheat the pads gently. Improve overall soldering quality by protecting the other parts from heat.
After reading the complete article, you are clear about fundamentals of SMD soldering. The SMD soldering components will help you to understand the entire process so you know exactly the quality of your PCB.
What is next for you? Contact PCBasic for precision soldering surface mount components with faster turnaround times.

Assembly Enquiry
Instant Quote
Phone contact

+86-755-27218592
In addition, we've prepared a Help Center. We recommend checking it before reaching out, as your question and its answer may already be clearly explained there.
Wechat Support

In addition, we've prepared a Help Center. We recommend checking it before reaching out, as your question and its answer may already be clearly explained there.
WhatsApp Support

In addition, we've prepared a Help Center. We recommend checking it before reaching out, as your question and its answer may already be clearly explained there.
