Today, with the rapid development of the
electronics industry, SMD PCB assembly has become the core process for
manufacturing modern electronic devices. Whether you are using a smartphone,
driving a smart car, or engaged in work related to industrial automation, you
are basically in contact with electronic products manufactured by surface mount
technology (SMT).
SMD assembly is a method of directly mounting
SMD components onto a circuit board. This technique is small in size, highly
efficient and easy to scale, which can make products lighter, faster and more
reliable.
This article will comprehensively
introduce the knowledge related to SMD PCB assembly, including basic
definitions, actual SMD PCB assembly processes, design techniques, comparisons
with traditional through-hole technology (THT), and how to choose a reliable
PCB assembly manufacturer like PCBasic. Whether you are an engineer, a product
designer, or the person in charge of electronic component procurement, this
guide will help you better understand and master the key points of SMD electronics
assembly.

What Is SMD PCB Assembly?
SMD PCB assembly refers to an electronic
assembly process that uses surface mount technology (SMT) to directly solder
various surface mount components onto the metal pads on the surface of a
printed circuit board (PCB). Unlike traditional through-hole technology (THT),
this method does not require inserting component leads into drilled holes in
the board. Instead, components are placed at designated positions on the PCB
surface using automated pick-and-place machines and are fixed and electrically
connected through processes such as reflow soldering.
Compared with traditional methods, SMD
PCB assembly offers significant advantages. It can greatly reduce the size of
the circuit board, resulting in a more compact overall structure. At the same
time, more electronic components can be mounted within the same area, thereby
increasing circuit integration and functional density. Due to the highly
automated placement process, production speed is much faster, making it
suitable for mass production and significantly improving manufacturing
efficiency. In addition, this process can effectively reduce production costs,
especially in large-scale manufacturing where its advantages are even more
apparent.
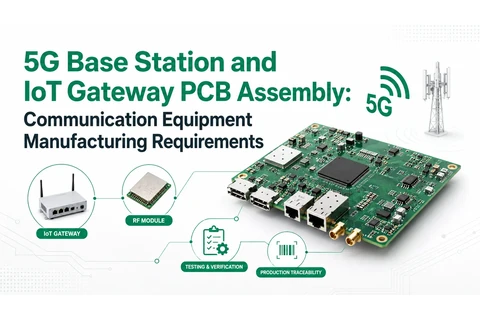
At present, SMD PCB assembly has become
the preferred process for the vast majority of SMD electronic products and is
widely used in various modern electronic devices, including key fields such as
smartphones, consumer electronics, communication equipment, automotive
electronic control units (ECUs), and industrial automation systems.

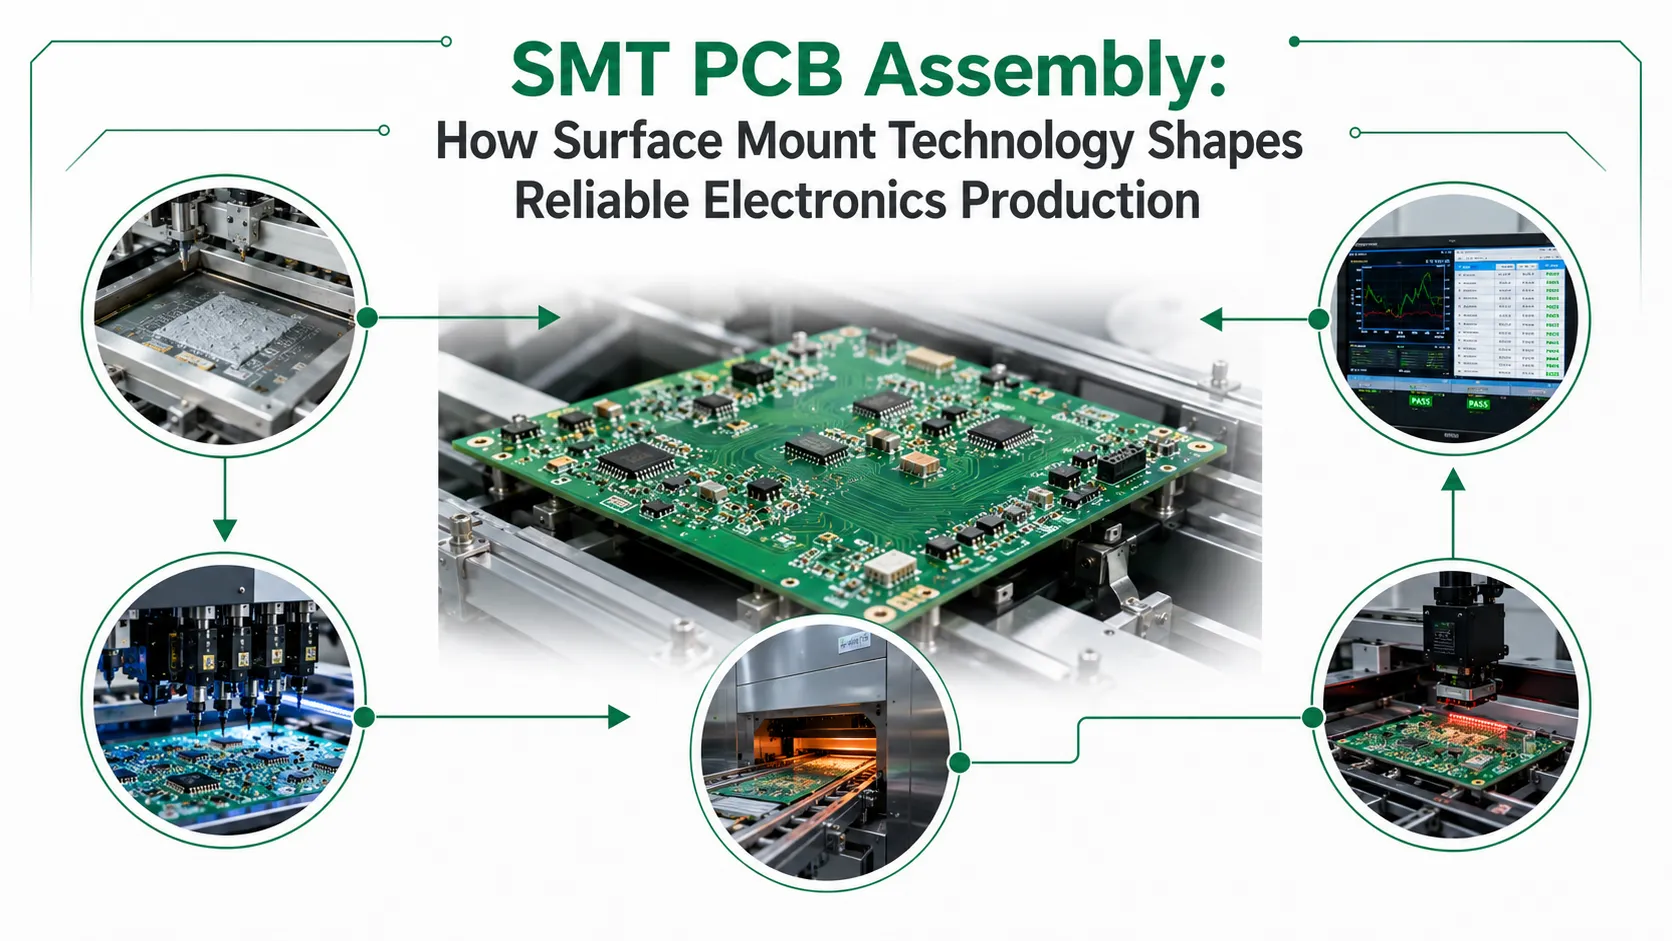
The SMD PCB Assembly Process: Step-by-Step
A high-quality SMD PCB assembly process
involves multiple key steps. These steps can ensure the accuracy, performance
and reliability of the entire printed circuit board.

1. Solder Paste Printing
This is the first step in SMD PCB
assembly. The operator uses a stainless-steel stencil to print solder paste
onto the pads on the surface of the PCB. The solder paste is a mixture that
contains flux and fine solder particles. It can temporarily stick SMD
components, preparing for subsequent surface mount soldering.
2. Solder Paste Inspection (SPI)
After
the solder paste printing is completed, an SPI machine is used for inspection. This
is an indispensable automated inspection step in SMD PCB assembly. It mainly
checks the following issues:
• Whether there
are any pads without solder paste
• Whether the
solder paste volume is too much or too little
• Whether the
solder paste is accurately aligned with the pad positions
Only when the solder paste is printed
accurately can the subsequent component mounting and soldering proceed
smoothly.
3. Pick-and-Place Component Mounting
The pick-and-place machine is the core
equipment in SMD assembly. It precisely places various SMD components (such as
resistors, capacitors, ICs and LEDs) on the solder paste through a high-speed
vision alignment system. These components are
usually supplied in the form of tape reels, trays or tubes, and are
automatically picked up and mounted onto the corresponding pads by the pick-and-place
machine.
This step demonstrates the highly
automated features of SMD PCB assembly, significantly enhancing assembly
efficiency and placement accuracy.
4. Reflow Soldering
After all the components are mounted, the
PCB will enter the reflow soldering stage. During this process, the circuit
board will be sent into the reflow oven. The oven will heat the solder paste in
stages according to the predefined temperature profile, causing it to melt and
form a strong solder joint. Typical temperature profiles include:
• Preheat stage: gradually raises the
temperature to avoid thermal shock
• Soak stage: holds the temperature
steady to activate the flux
• Reflow stage: raises the temperature
to the solder’s melting point, forming solder joints
• Cooling stage: quickly cools the board
to solidify the joints
Some high-end equipment also uses a
nitrogen environment to further prevent oxidation during soldering and improve
the quality of surface mount soldering.

5. Automated Optical Inspection (AOI)
After the reflow soldering is completed,
the circuit board will enter the AOI inspection stage. The AOI machine takes
pictures of the board surface through multiple cameras and automatically
determines the following contents:
• Whether components are placed in the
correct positions
• Whether solder joints are good
• Whether there are visual defects such
as missing, misaligned, or duplicated components
This process is an important step in the
quality control of SMD PCB assembly and can effectively prevent defective
products from moving to the next process.
6. X-ray Inspection
For SMD PCB assemblies containing bottom-terminated
components such as BGA and QFN, ordinary AOI cannot identify hidden solder
joints. Therefore, X-ray equipment is needed to inspect the inner structure and
determine whether the joints are good or if there are issues like voids or
shorts.
7. Functional Testing
After all visual and structural
inspections are completed, the circuit board will undergo functional testing.
By applying power and simulating electrical signals, this step ensures that the
SMD electronic product performs according to design specifications. This is the
final step in the SMD PCB assembly process and ensures that the product
operates properly before delivery to the customer.
About PCBasic
Time is money in your projects – and PCBasic gets it. PCBasic is a PCB assembly company that delivers fast, flawless results every time. Our comprehensive PCB assembly services include expert engineering support at every step, ensuring top quality in every board. As a leading PCB assembly manufacturer, we provide a one-stop solution that streamlines your supply chain. Partner with our advanced PCB prototype factory for quick turnarounds and superior results you can trust.
Design Guidelines for SMD PCB Assembly
Proper design is essential for achieving
a reliable and manufacturable SMD PCB assembly. The following are some best
design practices:
1. Use Professional PCB Design Software
It is recommended to use tools such as
Altium Designer, KiCad, and Eagle to design optimized PCBs.
These software tools support exporting
Gerber files and pick-and-place data required for manufacturing.
2. Optimize Component Placement
• Place SMD components with similar
functions as close together as possible.
• Heat-sensitive components should be
kept away from high-power ICs.
• Use symmetrical layouts to reduce
board warping during reflow soldering.
3. Follow Trace Routing Guidelines
• Avoid 90-degree angles to prevent
signal reflection.
• Maintain consistent trace width to
ensure impedance control.
• For high-speed SMD electronic
products, use short and direct traces whenever possible.
4. Thermal Management Design
Design thermal vias, heat sinks, or large
copper areas near power-dense components.
This helps to effectively prevent
overheating during the SMD PCB assembly process or during actual product
operation.
5. Choose the Right Solder Mask
High-quality solder mask prevents solder
bridging and oxidation. It also improves the service life and visual quality of
the PCB assembly.
SMT vs THT: A Quick Comparison Table
THT, short for Through-Hole Technology,
is a traditional electronic assembly method. Its principle is to insert
electronic components with leads into pre-drilled holes on the PCB, and then
solder them on the back side of the board using wave soldering or manual
soldering. This creates electrical connections and secures the components in
place. This method provides strong mechanical stability and is suitable for
electronic products that require high reliability.

SMT vs THT: A Quick Comparison Table
|
Feature
|
SMD
(SMT PCB Assembly)
|
THT
(Through-Hole Technology)
|
|
Component Size
|
Small and compact
|
Large and bulky
|
|
Assembly Method
|
Automated pick-and-place
|
Manual or wave soldering
|
|
Assembly Speed
|
Fast, scalable
|
Slower, labor-intensive
|
|
Mechanical Strength
|
Lower
|
Higher—ideal for high-vibration
applications
|
|
Repairability
|
More difficult
|
Easier
|
|
Cost Efficiency
|
High for volume production
|
Higher cost per unit
|
|
Application Suitability
|
Consumer electronics, telecom, IoT
|
Aerospace, industrial, power
electronics
|
Despite some limitations, SMD PCB
assembly remains the preferred choice for modern high-density printed circuit
board assembly.
Choosing the Right Manufacturer: PCBasic
When performing SMD PCB assembly,
choosing a reliable and experienced manufacturer is very important. It directly
affects product quality, production efficiency, and delivery speed. PCBasic is
a professional printed circuit board assembly service provider with many years
of industry experience and advanced manufacturing capabilities, capable of
consistently delivering high-quality SMD assembly services.

Here are the key reasons to choose
PCBasic:
1. More than 10 years of experience in PCB design and project
management. We ensure your surface mount design is manufacturable and suitable
for automated production.
2. Multiple factories equipped with SMD PCB assembly production
lines, including a small-batch facility in Shenzhen and a large-scale
production plant in Huizhou, supporting everything from prototyping to mass
production.
3. Self-owned stencil and fixture factory that enables delivery
within 1 hour, ensuring fast and accurate solder paste printing—crucial for
improving SMD assembly efficiency.
4. An intelligent central warehouse for electronic components. It
ensures a stable supply of original and genuine SMD components, effectively
reducing material shortages and delivery delays.
5. One-click BOM import and instant quotation system to simplify
the procurement process, accelerate assembly progress, and shorten
time-to-market.
6. Certified with multiple international quality standards:
ISO13485, IATF 16949, ISO9001, ISO14001, and UL. Also, an IPC member, ensuring
that every SMD PCB assembly board meets international standards.
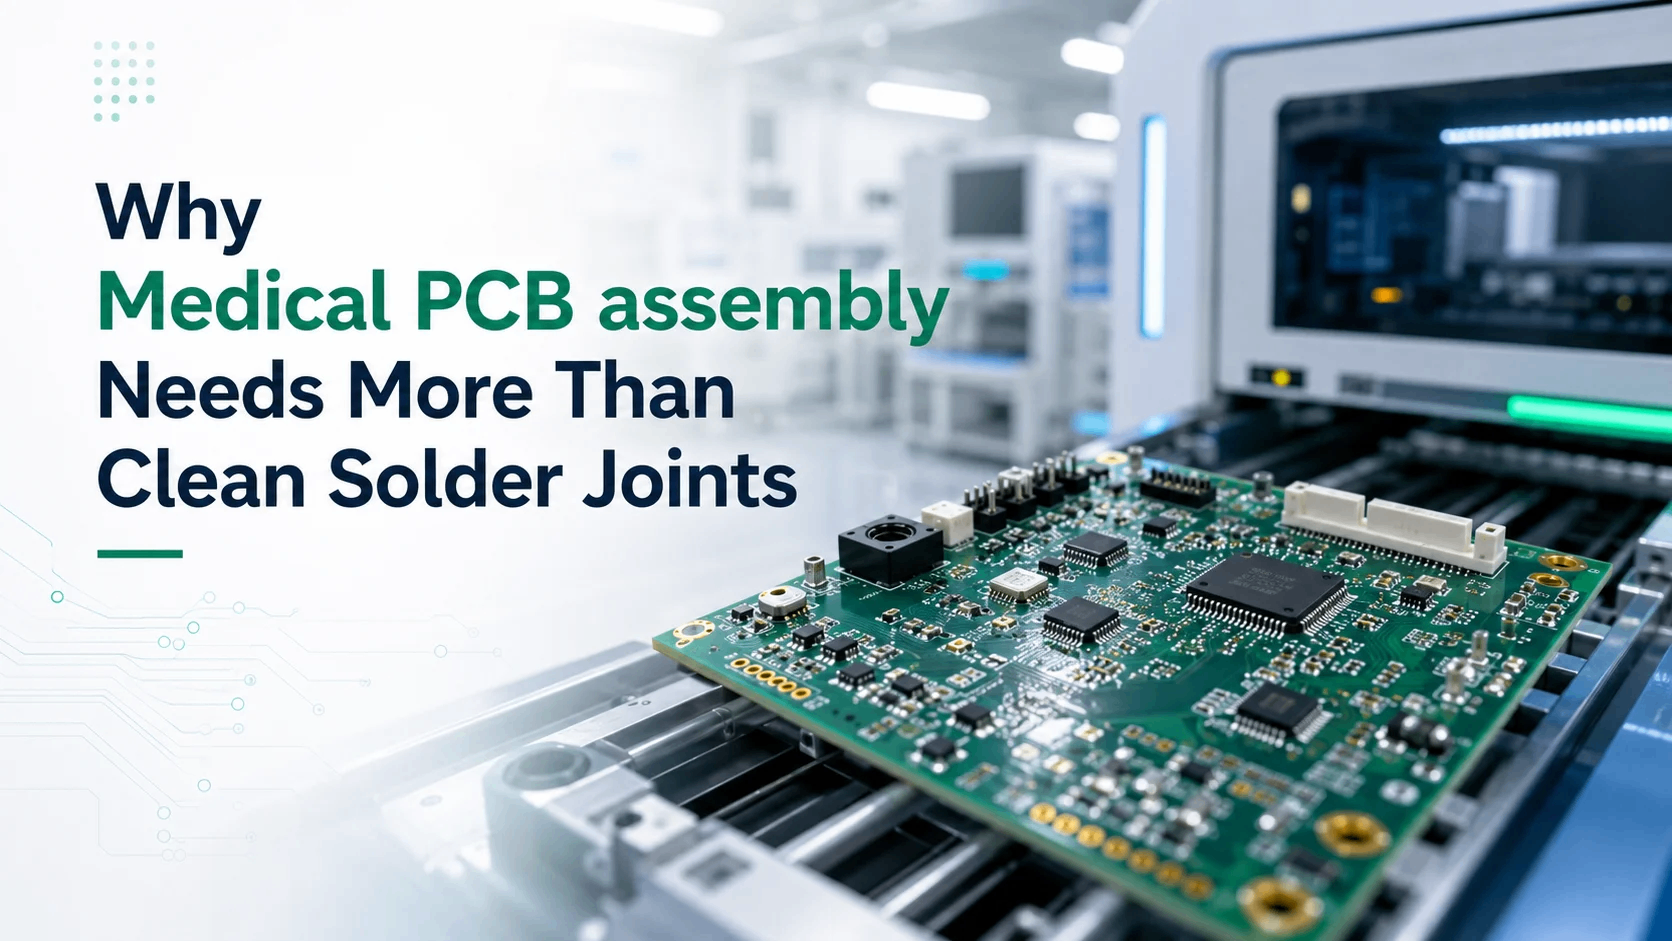
Whether your project involves consumer
electronics, industrial automation, or medical devices using SMD electronic
products, PCBasic can provide one-stop support from design to delivery with its
professional engineering team, complete facilities, and strict quality control
for your surface mount technology (SMT) project.
Conclusion
From smartphones to aerospace equipment,
SMD PCB assembly is a key part of modern electronic products. Mastering each
process step—from stencil printing to reflow soldering—and applying proper
design can help you build reliable, high-performance circuit boards.
Whether you are an engineer optimizing a
prototype or a company looking for a suitable manufacturer, understanding and
mastering the SMD PCB assembly process is a critical foundation for product
success.

FAQs
1. What is the difference between SMT and
SMD?
SMT (Surface Mount Technology) is the
process or method used, while SMD (Surface Mount Device) refers to the actual
component mounted using that method. Both are key elements of SMD PCB assembly.
2. Can I assemble SMD PCBs at home?
Yes! With tools like solder paste, a
stencil, tweezers, and a hot air gun, you can do basic SMD assembly at
home—especially for prototypes and low-volume builds.
3. What’s the best solder paste for
beginners?
Leaded solder paste like Sn63Pb37 is
easier to work with due to its lower melting point and better wetting. Brands
like Chip Quik SMD291AX are great for beginners in SMD PCB assembly.
4. Do I need a reflow oven, or is a hot
air gun enough?
For small-scale or prototype PCB
assemblies, a hot air gun works fine. However, a reflow oven offers better
temperature control and consistency for batch production.