In
the modern electronics industry, printed circuit board (PCB) manufacturing is
the core technology behind every electronic product. From mobile phones and
computers to industrial equipment, aerospace and medical devices, PCB
manufacturing enables complex circuit systems to function properly within a
limited space. With the development of technology, electronic products have
become smaller, faster and more functional, and the requirements for the PCB
manufacturing process are also getting higher and higher. Continuous
optimization is needed to ensure performance and reliability.
However,
for many people engaged in the circuit board industry, the entire circuit board
manufacturing process is often rather complex and involves many technical
details. This guide will explain the complete process from design, prototyping,
and PCB fabrication to inspection in a clear sequence. Whether you are learning
about how to make a PCB for the first time or are looking for a cooperative
factory for large-scale PCB manufacturing and assembly, this article can help
you have a comprehensive understanding of the key points and critical control
methods in each phase of the custom circuit board, PCB prototype and
large-scale PCB production.

Introduction
to Circuit Board Manufacturing
Simply
speaking, circuit board manufacturing is the process of turning an electronic
design into a real and usable hardware product. The printed circuit board is
the core component of all electronic devices and is responsible for
transmitting electrical signals while fixing and supporting electronic
components.
A
complete PCB goes through multiple production steps. The entire PCB
manufacturing process usually includes the following main processes:
• Prepare the design files;
• Select the right materials;
• Perform PCB fabrication, which builds
the bare circuit board;
• Drill holes and plate them to connect
different circuit layers;
• Do imaging and etching to form the
circuit patterns;
• Apply surface finishing to protect the
pads and conductors;
• Complete PCB assembly by soldering
components onto the board;
• Finally, inspect and test the boards
to ensure quality.
Nowadays,
the demand for custom PCBs in many industries is increasing. Different products
have special requirements in terms of size, performance, function and
environmental adaptability, which also promotes the continuous innovation and
improvement of PCB design.

Types
of Circuit Boards in Manufacturing
In
the process of PCB manufacturing, different application scenarios, product
complexity and design requirements determine the type of circuit board. Before
starting the printed circuit board manufacturing process, it is very important
to understand these common types first:
1.
Single-Sided PCB
The
single-sided PCB is the simplest type. There is only one layer of copper on the
circuit board, which is used to connect electronic components. This kind of
board is usually used in electronic products with simple structures and single
functions, such as calculators, radios or low-end household appliances. Because
of its simple process, low cost and high production efficiency, it is very
common in some low-cost and low-density application scenarios.

2.
Double-Sided PCB
Both
sides of a double-sided PCB have copper layers. Electronic components can be
installed on both sides of the board, and circuits can also be connected to
each other through vias between the two layers. This structure makes the
circuit design more flexible and can accommodate more functions and components.
Double-sided PCBs are widely used in consumer electronics, household
appliances, industrial automation control systems and other fields.
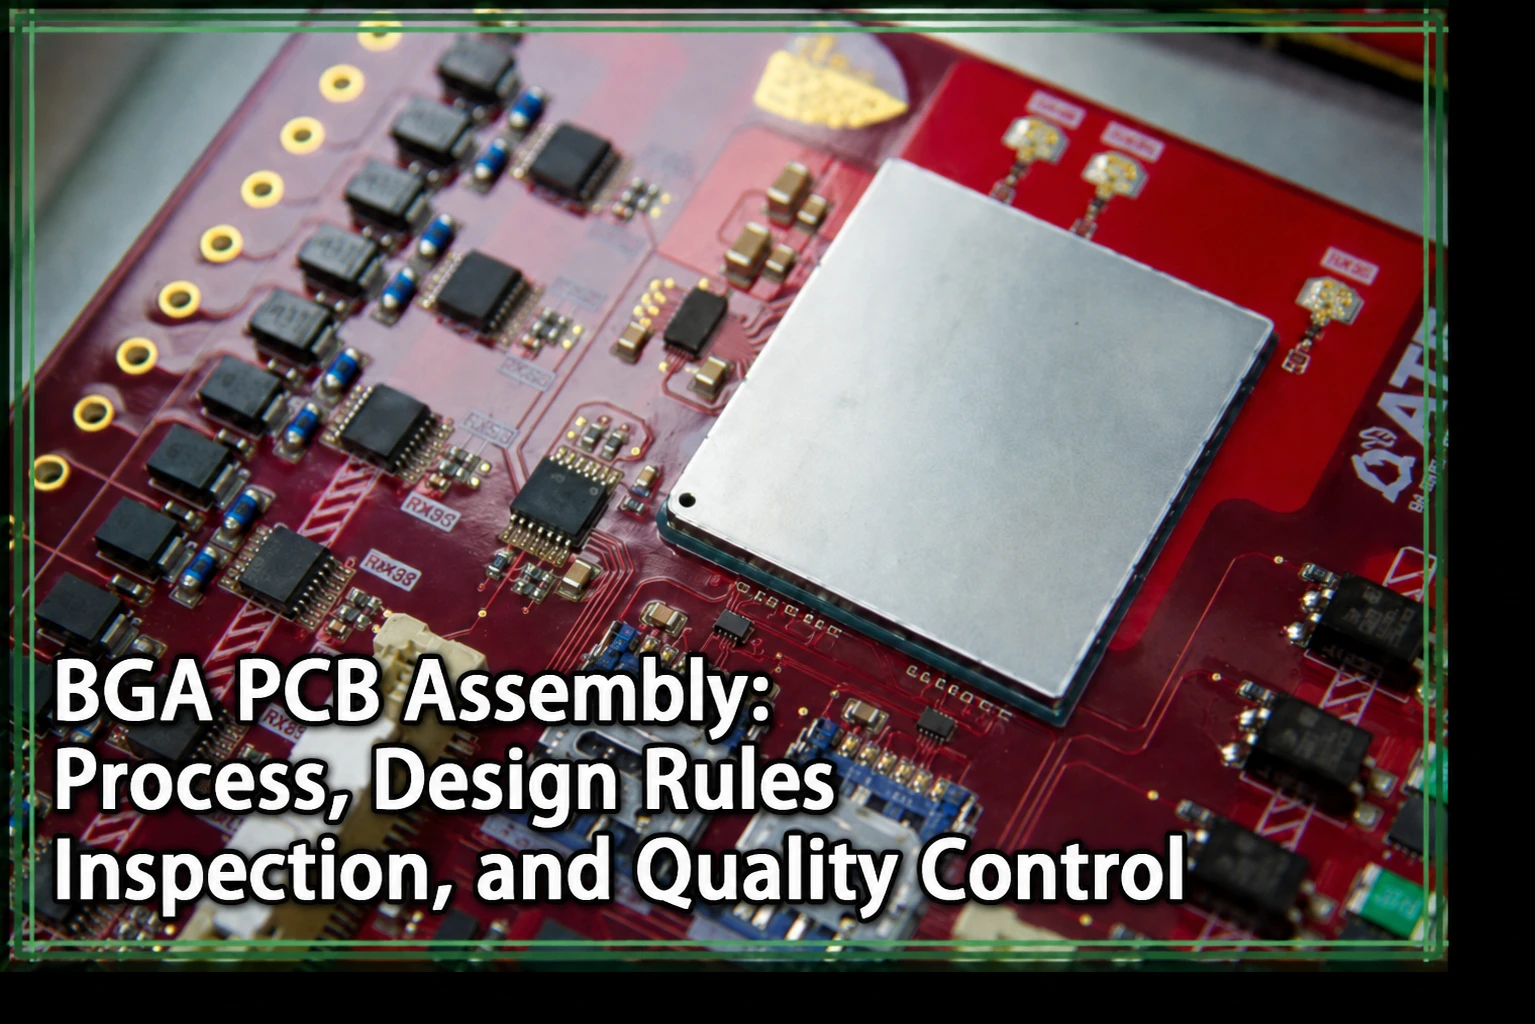
3.
Multilayer PCB
Multilayer
PCB fabrication involves sandwiching insulating layers between multiple
double-sided PCBs and then laminating them together through heating and high
pressure to form one solid board. Multilayer PCBs can have structures of 4
layers, 6 layers, or even dozens of layers. It is suitable for carrying a large
number of complex, high-speed and high-frequency circuit signals in the case of
limited space. Multilayer PCBs are widely used in high-end fields such as
servers, network communication equipment, high-end computers, aerospace and
medical devices.
4.
Rigid PCB
Rigid
PCBs use hard substrate materials, such as fiberglass-reinforced epoxy (FR4),
to keep the circuit board in a fixed shape and less prone to bending. Most
traditional electronic products use rigid PCBs, such as mobile phone and
computer motherboards. This type of board is easy to install and maintain, has
high mechanical strength, and is suitable for the vast majority of standard
electronic application scenarios.

5.
Flexible and Rigid-Flex PCB
Flexible
PCBs use soft materials (such as polyimide and polyester film), which can be
freely bent, folded or rolled during use. They are suitable for scenarios with
limited installation space or where dynamic bending is required. The rigid-flex
PCB combines flexible and rigid materials, featuring both fixed support and
flexible bending in a single board. This type of PCB is widely used in
high-demand scenarios such as medical implant devices, wearable devices,
military electronic systems and aerospace equipment.
Among
these different types of boards, many products also need to be customized
according to actual applications.
|
PCB Type
|
Materials
|
Key Features
|
Typical Applications
|
|
Single-Sided PCB
|
FR4, phenolic resin, paper-based
substrates
|
Only one copper layer; simple
structure; low cost; easy to manufacture and repair
|
Calculators, radios, LED lighting,
basic home appliances
|
|
Double-Sided PCB
|
FR4, CEM-3
|
Copper on both sides; components
mounted on both sides; allows more complex circuits
|
Consumer electronics, industrial
controls, power supplies, printers
|
|
Multilayer PCB
|
FR4, high-frequency materials (PTFE,
Rogers)
|
4+ copper layers; supports high-speed,
high-frequency, and compact designs; complex interconnections
|
Servers, routers, aerospace systems,
medical equipment, advanced computers
|
|
Rigid PCB
|
FR4, high TG laminates, metal core
|
Fixed shape; high mechanical strength;
reliable structure
|
Smartphones, laptops, automotive
electronics, industrial machines
|
|
Flexible & Rigid-Flex PCB
|
Polyimide (PI), polyester (PET), FR4
(for rigid parts)
|
Bendable and foldable; combines rigid
and flexible zones; ideal for space-constrained designs
|
Medical implants, wearable devices,
military electronics, aerospace instrumentation
|
Through
the custom PCB solution, engineers can flexibly select materials, the number of
layers, board thickness, size and stacking structure, thereby better meeting
the performance and usage requirements of the products.
How to
Make a PCB: Step-by-Step
Next,
we will introduce in detail the complete PCB manufacturing process adopted by
the current leading PCB manufacturing companies and PCB suppliers:
Step
1: PCB Design and File Preparation

Every
PCB manufacturing project starts with designing the circuit board. Engineers
use software like Altium Designer, KiCad, or Eagle to draw the circuit diagram
and layout. They define the width of copper traces, hole positions, component
locations, and how many layers the board has. Once finished, the design is
saved as Gerber files, which are the standard file format used for PCB
fabrication.
Before
starting full PCB manufacturing, PCB manufacturers review the design using DFM
(Design for Manufacturability) checks. This helps to make sure the design
matches the factory's production limits and avoids problems later. For custom
PCBs and PCB prototypes, this step is very helpful in catching issues early and
saving costs.
Step
2: Photoplotting and Film Production
During
the PCB fabrication stage, the Gerber files are used to create photofilms using
laser photoplotters. These are clear plastic sheets with black patterns showing
the circuits for each layer. The photofilms will later be used as templates to
transfer the design onto the actual board. In multilayer PCB fabrication,
registration holes ensure each film is perfectly aligned.
Step
3: Inner Layer Imaging and Etching
Clean
copper sheets (laminates) are coated with a light-sensitive film called
photoresist. The photofilm is placed over the laminate, and UV light shines
through it. The areas exposed to light harden; the unexposed areas stay soft
and are washed away. This exposes the unwanted copper, which is then etched
away using chemicals, leaving only the required circuit pattern.
Step
4: Layer Alignment and Lamination
In circuit board manufacturing, inner layers are stacked together to create
multilayer PCBs. The layers, prepreg (insulation layers), and copper foils are
precisely aligned using machines. Then, heat and pressure press them together
into one solid board. This multilayer PCB fabrication step is crucial for board
strength, flatness, and proper connections between layers.
Step
5: Drilling

After
lamination, holes are drilled using CNC drilling machines or lasers. These
holes include vias (connecting layers), through-holes, and component holes.
Accurate drilling is very important for good electrical connections. For
complex custom circuit board designs, very tight drilling tolerance is needed
to ensure proper copper plating later.
Step
6: Chemical Copper Deposition
Inside
the drilled holes, the walls are still non-conductive. A thin layer of copper
is chemically deposited onto the hole walls using a process called PTH (Plated
Through-Hole). This creates a conductive base for later copper plating,
allowing current to flow between layers.
Step
7: Outer Layer Imaging and Electroplating
The
outer layers go through a similar imaging process. The photoresist is applied,
exposed to UV light, and developed to form the outer circuit pattern. Then,
copper is electroplated onto the exposed areas to build up the copper traces
and plate the hole walls. Finally, a thin layer of tin is plated on top to
protect the copper during the next etching step.
Step
8: Outer Layer Etching
The
tin protects the copper traces while chemicals remove the unwanted exposed
copper. After etching, the tin is stripped off, leaving clean and precise
copper circuits. At this point, the complete circuit paths on the board are
finished.
Step
9: Solder Mask Application
To
prevent short circuits and solder bridges during PCB assembly, a solder mask is
applied. A liquid photoimageable (LPI) solder mask covers the board, then UV
light hardens the areas to be protected. The solder mask protects the circuits
from oxidation, dirt, and physical damage during handling and use.
Step
10: Silkscreen Printing
A
silkscreen layer is printed on the board to show part numbers, component
positions, version info, company logos, and product codes. This helps with the
PCB assembly process, ensuring that components are correctly placed and making
maintenance easier later.
Step
11: Surface Finishing
Exposed
copper pads need finishing to improve soldering quality and prevent corrosion.
Common surface finishes include:

• Hot
Air Solder Leveling (HASL)
• Electroless
Nickel Immersion Gold (ENIG)
• Organic
Solderability Preservative (OSP)
• Immersion
Tin / Immersion Silver
• Hard
Gold Plating (for gold fingers)
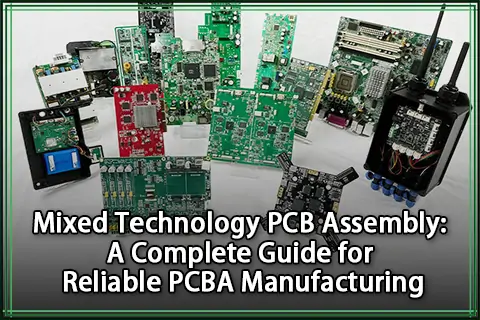
Different
custom PCB and PCB manufacturing and assembly projects require different
finishes based on product needs, reliability, and cost.
Step
12: Electrical Testing
After
surface finishing, the board’s electrical circuits are tested. This includes
checking for open circuits (missing connections) and short circuits (unwanted
connections). Small batches are tested using flying probes; large batches use
bed-of-nails fixtures. Any boards that fail are repaired or discarded to
maintain quality.
Step
13: Routing and V-Scoring
CNC
routers or V-cut machines separate individual boards from the large production
panel. V-scoring cuts about one-third into both sides of the board, creating
weak points that make breaking apart the boards easy. CNC routing is used for
boards with custom shapes.
Step
14: Final Inspection, Packaging, and Shipping
All
custom circuit boards go through final inspections to check appearance, size,
flatness, and cleanliness. Boards that pass are vacuum-packed with anti-static
protection to keep them safe during shipping.
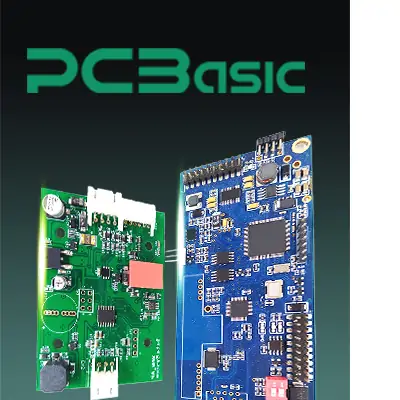 About PCBasic
Time is money in your projects – and PCBasic gets it. PCBasic is a PCB assembly company that delivers fast, flawless results every time. Our comprehensive PCB assembly services include expert engineering support at every step, ensuring top quality in every board. As a leading PCB assembly manufacturer, we provide a one-stop solution that streamlines your supply chain. Partner with our advanced PCB prototype factory for quick turnarounds and superior results you can trust.
Common Challenges in Circuit Board Manufacturing
Even
with advanced technology, printed circuit board manufacturing still faces
several common challenges:
Drilling
Accuracy Problems
If
the drill holes are not positioned exactly right, the circuits may not connect
properly, which can cause open circuits.
Copper
Thickness Control
If
the copper layer is too thin, it may not carry enough current. If it’s too
thick, it can affect impedance, leading to signal distortion or overheating.
Solder
Mask Defects
If
the solder mask does not fully cover certain areas, it can cause solder bridges
and short circuits during PCB assembly.
Uneven
Surface Finishing
If
the surface finish is not applied evenly, it can affect soldering quality,
making components less stable and reducing long-term reliability.
Layer
Alignment Errors
In
multilayer PCB fabrication, even small misalignments between layers can ruin
the whole board and make it unusable.
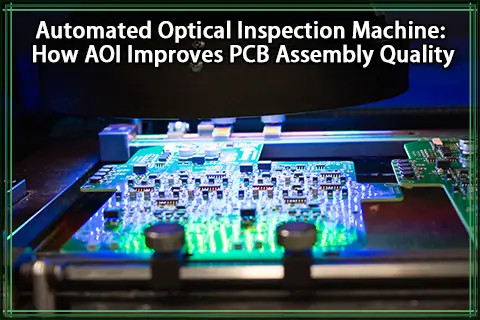
High-level
PCB manufacturers and PCB suppliers use strict process controls and advanced
AOI (Automated Optical Inspection) systems to detect and fix these issues
early, ensuring high-quality circuit board production.

The
Role of Prototyping in PCB Manufacturing
Before
entering large-scale PCB production, creating a PCB prototype is very important.
Through prototyping, engineers can check early whether the circuit board design
meets the expected requirements, such as electrical performance, signal
transmission, heat dissipation, and stability during actual use.
The
prototype not only tests whether the circuit board works properly but also
helps detect potential design and manufacturing issues in advance. For example,
it may reveal problems such as unreasonable trace layouts, inaccurate hole
positions, defective layer stacking, or difficulties in controlling production
tolerances. If these problems are not identified during PCB manufacturing,
entering mass production may result in large amounts of rework or scrap,
increased costs, and project delays.
Many
professional PCB manufacturing companies and PCB suppliers offer fast PCB
prototype services to help customers quickly verify designs, improve solutions
earlier, shorten product development cycles, and speed up time-to-market.
For
custom PCB projects, prototyping also helps verify whether the entire PCB
design and assembly process runs smoothly. For example, it checks whether
components can be placed correctly, whether the soldering quality is good, and
whether the assembly process is reasonable. This helps reduce risks before mass
production and ensures stable production in the later stages.

Conclusion
Circuit
board manufacturing has become the foundation of modern electronic technology.
From design, PCB fabrication, and testing to PCB assembly, the entire PCB
manufacturing process relies on precise techniques and advanced equipment.
Whether
developing a new product or expanding production, it is important to work with
experienced PCB manufacturers, PCB suppliers, and PCB manufacturing companies.
This ensures stable product quality, reliable performance, and controlled
costs. From custom circuit board development to large-scale PCB production,
every step must be carefully controlled to ensure success.
By
fully understanding how to make a PCB and mastering the complete printed
circuit board manufacturing process, engineers and businesses can bring new
products to market faster and more reliably.